What is Docker?
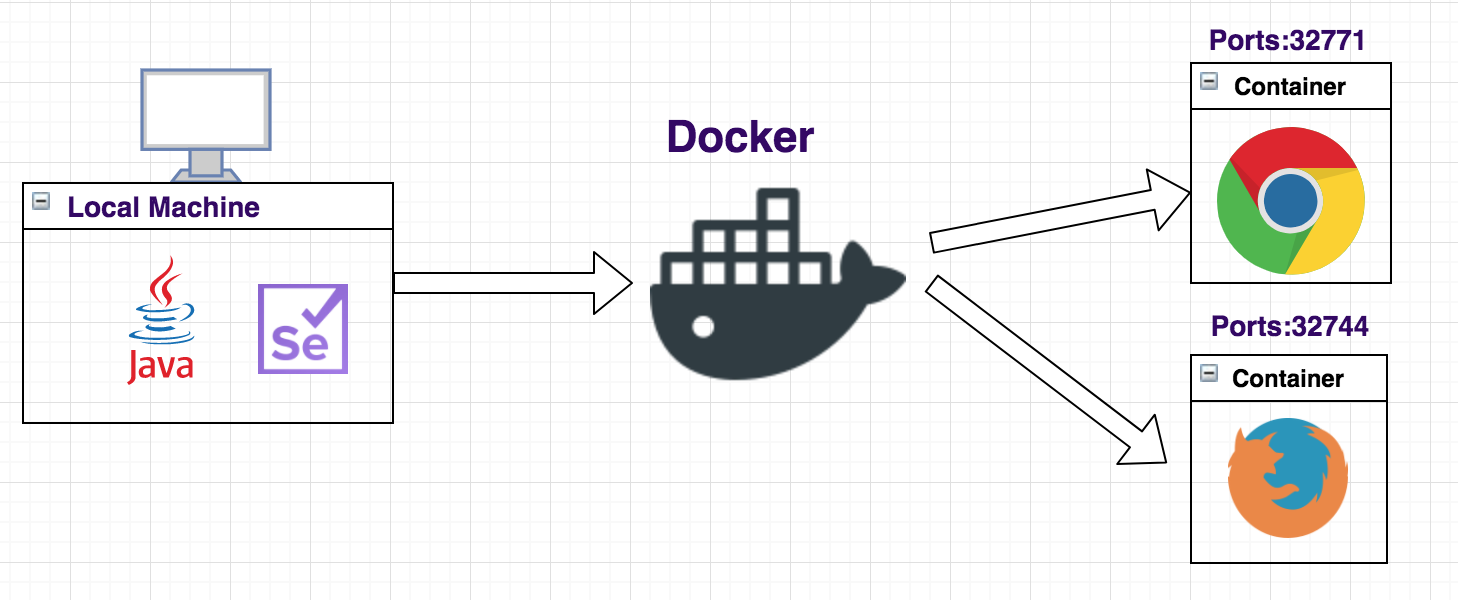
Docker containers allow you to package up an application with all the basic parts to run, such as libraries and other dependencies, and ship it out as one package.
Developers use Docker to eliminate “works on my machine” problems when collaborating on code with co-workers. Companies use Docker to build agile software delivery pipelines to ship new features faster, more securely and with confidence for both Linux and Windows Server.
Docker Terminology
#Images:
An Image is an inert, immutable, file that’s essentially a snapshot of a container.An image typically contains a union of layered filesystems stacked on top of each other. Images are created with the build command, and they’ll produce a container when started with the run. Images are stored in a Docker registry such as registry.hub.docker.com
#Containers:
Containers are the instantiations or runtime instance of images. They are one form of the image. Compare it to object-oriented programming, then your class would be an image and instance of the class a container. Another comparison would be too real containers on the ship. They all look same from the outside but can look very different from the inside.
There are many docker terms but the most imp is images and containers, you can have a look for all the terms in Docker glossary.
In this article, we are going to learn how we can run our simple Selenium WebDriver Test cases on Docker.
Downloading and Installing Docker
There are Docker Community Edition and Docker Enterprise Edition, So we are going to use Community edition which is free of use.
Step 1: Download Docker from https://www.docker.com/community-edition#/download.
Step 2: Depending on the Operating System you are using Install Docker.
After Successfully installing Docker you can see the Docker Running on top of your machine as service.
Verify Docker:
Now after successfully installing docker, open your Terminal or command line.
On Command line we will run a simple command to check the version
docker --version
Docker version 17.09.0-ce, build afdb6d4
docker ps
Let’s see how many containers I have in my machine using command docker ps which will list down all the containers running.

We don’t have any container right now so nothing is displayed.
docker images
Let’s see if we have any images using command docker images which will also list nothing right now.
We don’t have any of the images in our machine, so nothing is displayed. But this command is for reference to list all the images on your machine.

#How to use Docker with WebDriver:
Now as we have docker setup and running, we can start working on our Selenium WebDriver integration.

Step 1: First step is to Download the Docker image for Selenium with Chrome
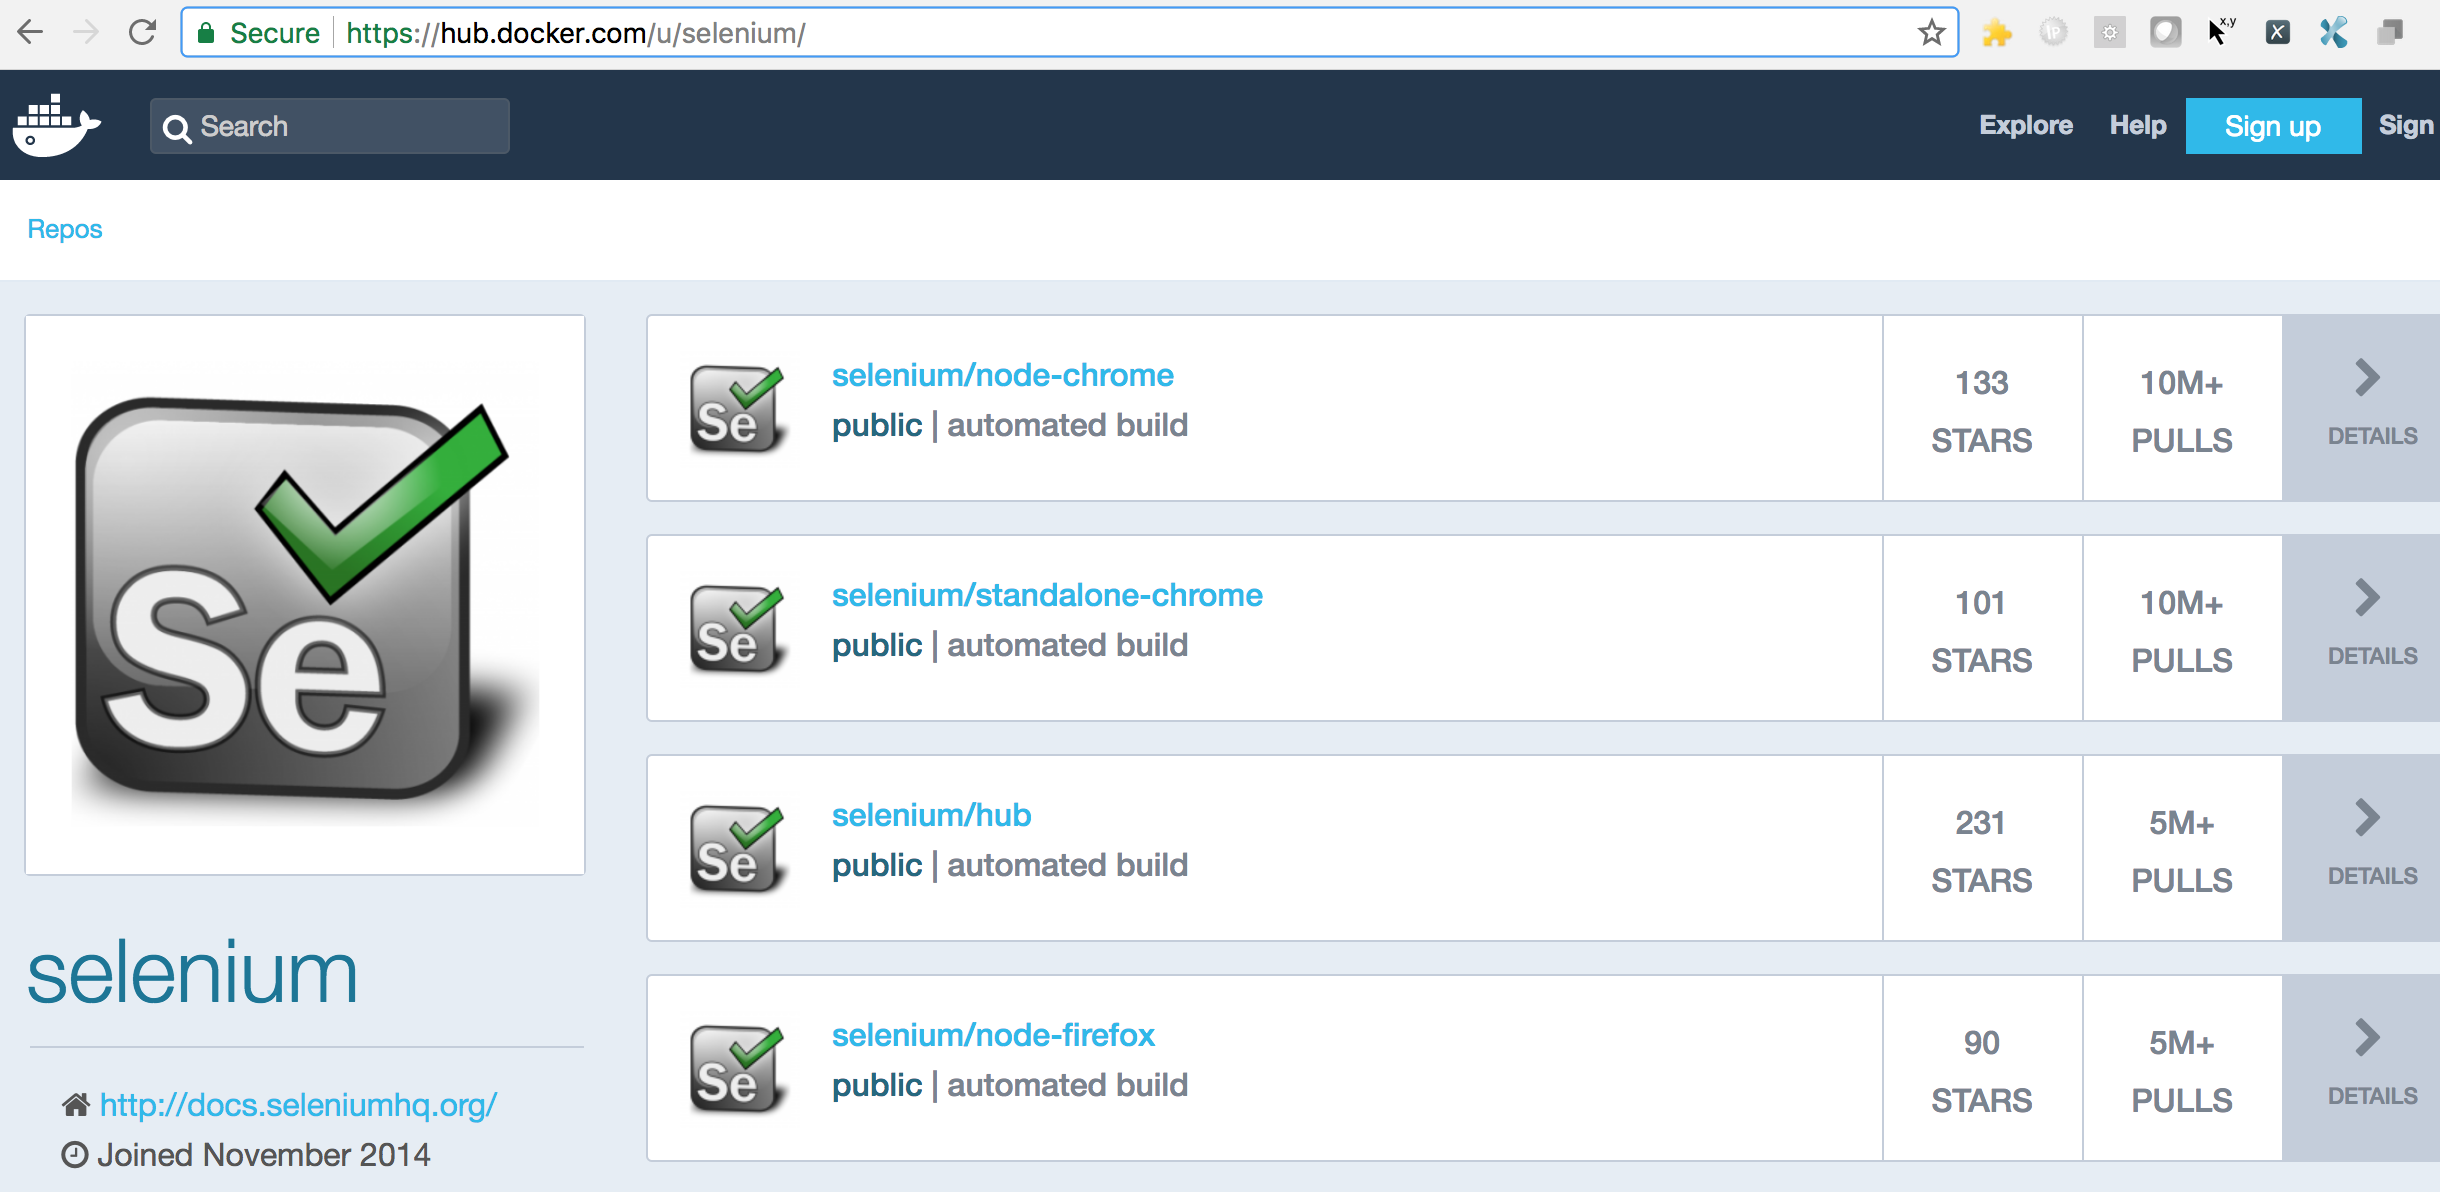
hub.docker.com is the Url where you will find all the docker-images of applications present for Docker. It’s like a Docker repository of all the docker-images.
To find all the images related to Selenium can be found here : https://hub.docker.com/u/selenium/

We have to download the selenium/standalone-chrome to Run our test on Chrome browser. To download you have to open Terminal and Run:
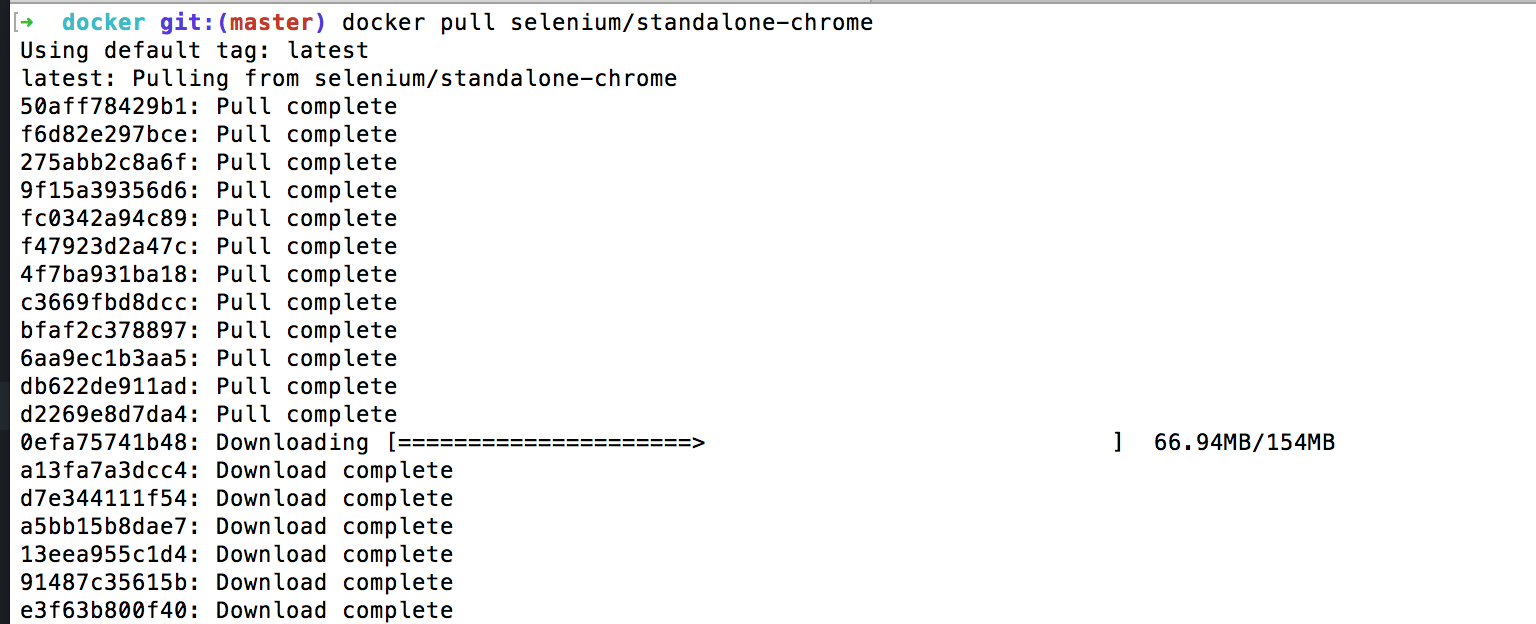
docker pull selenium/standalone-chrome

Docker pull request is to download the images in docker, So above request will start downloading standalone-chrome image and we are ready to run the container.
Step 2: Start container with Selenium standalone-chrome
Now we have to start the container for the image using the command:
docker run -d -P selenium/standalone-chrome
➜  docker git:(master) docker run -d -P selenium/standalone-chrome
3df032f01a346bb0f0922746e92c7d63e65a262e10eb25dfe04452e7fe118c8f
➜  docker git:(master)
docker run is to start the container and After running the container we can check If the container is started or not by listing all the running containers.
docker ps
You can check the container started running and see the CONTAINER ID, IMAGE, PORT No. on which container is listening and Name is given by docker randomly (U can set the name of your choice).

Step 3: Create WebDriver Test Class:
Now we are going to create a simple Java file with TestNG as Test. I am doing following things in this example class:
1. For Docker we have to use the RemoteWebDriver Class not the normal ChromeDriver or FirefoxDriver.
2. The URL should be http://localhost:32771/wd/hub as my Docker in running in my machine. Port No. you should check in the container list and replace the correct port from machine.
3. Open www.Google.com and Get the Title.
import java.net.URL;
import org.openqa.selenium.WebDriver;
import org.openqa.selenium.remote.DesiredCapabilities;
import org.openqa.selenium.remote.RemoteWebDriver;
import org.testng.annotations.Test;

public class RunningTestOnDocker {

    @Test
    public void runTestOnDocker() throws Exception {
        DesiredCapabilities dcap = DesiredCapabilities.chrome();
        String driverPath = System.getProperty("user.dir") + "/exe/chromedriver";
        System.setProperty("webdriver.chrome.driver", driverPath);

        // You should check the Port No here.
        URL gamelan = new URL("http://localhost:32771/wd/hub");
        WebDriver driver = new RemoteWebDriver(gamelan, dcap);
        // Get URL
        driver.get("https://www.google.com/");
        // Print Title
        System.out.println(driver.getTitle());
    }
}
Run Test and Check Container logs:
If you run the above Class with proper port number, you will see the Title as Google been printed on the Console. We can verify the whole Test by looking into the container logs also by using the command :
- Do
docker ps - Take the Container ID and Do
docker logs <container ID>

Container logs can be helpful in debugging, like if we check the logs for our @Test, You will find all the steps performed like Creating Session, opening URL and then get Title.

I am using Chrome browser for showing the example but you can find Firefox and other browsers also in the hub.docker.com and try to Run Test on Different Browsers.